Bond self-adhesive decorative panels
Our self-adhesive design panels, marked with the abbreviation “SA”, are equipped with a strong adhesive layer on the back of the decorative panel – made of high-quality acrylates or synthetic rubber – and can therefore be attached quickly and easily to non-absorbent surfaces. The self-adhesive design panels are glued directly to the substrate without additional glue, allowing for an expansion joint.
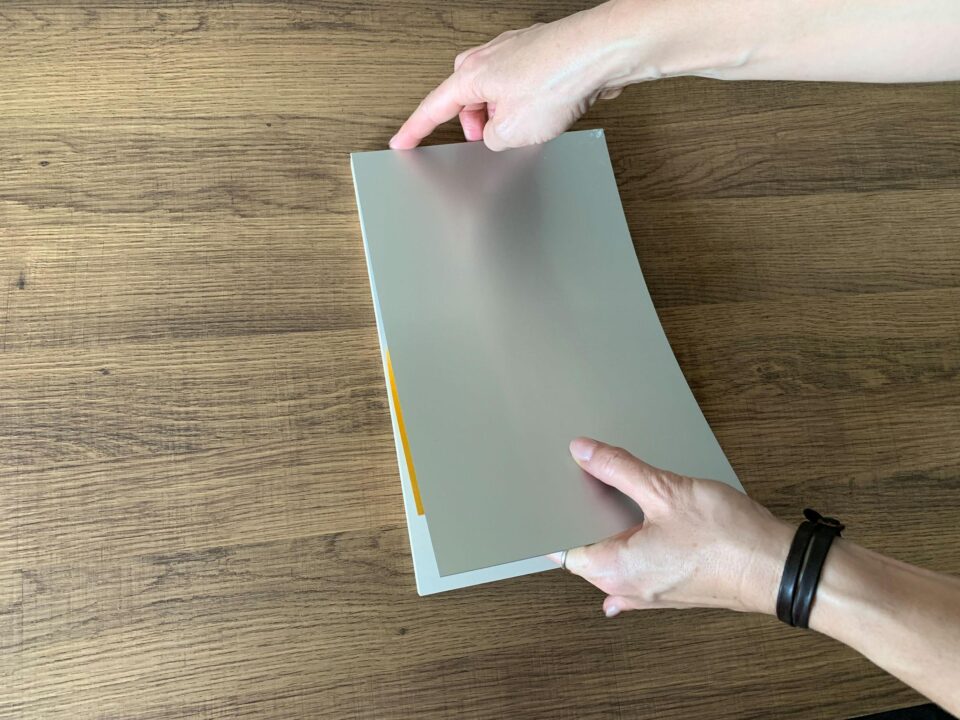
Back of a self-adhesive decorative panel
Suitable substrates for self-adhesive decorative panels
The self-adhesive panels are suitable for non-absorbent surfaces such as coated MDF/chipboard, glass, metal, plastic, etc.
Tip: Identify non-absorbent surfaces
You can recognize non-absorbent substrates by dripping a drop of water onto the surface – if this does not sink in but remains on the surface, it is a non-absorbent substrate.
The self-adhesive equipment is not suitable for ceiling applications. Alternative processing options are available upon request.
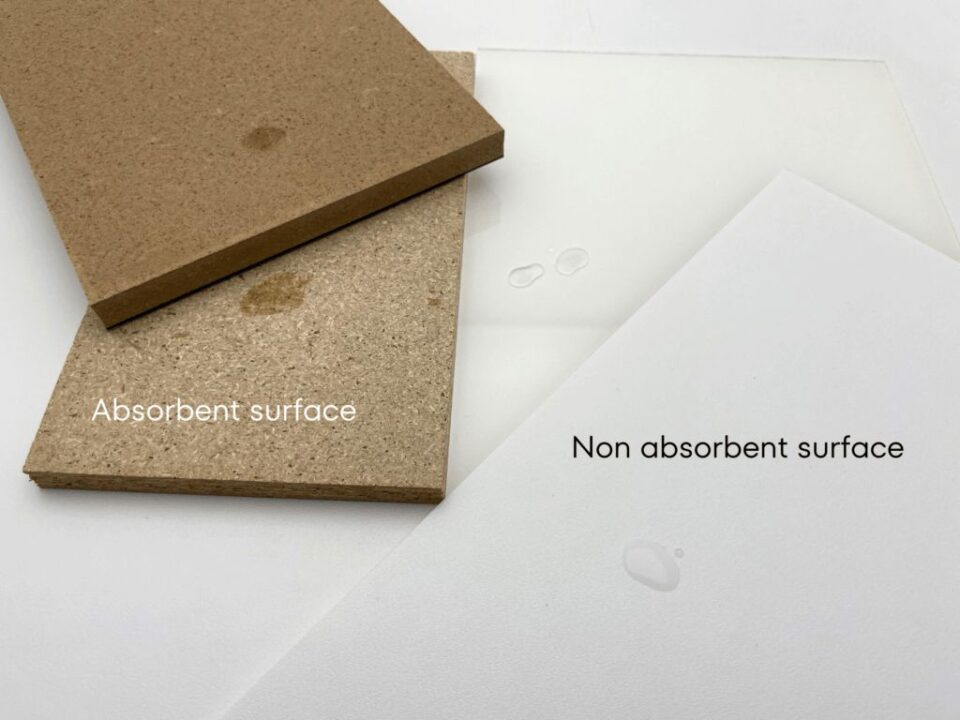
Left: absorbent substrates & right: non-absorbent substrates
Prepare the substrate:
The substrate must be dry, smooth, free of loose parts, dust, dirt, grease, wax and silicone. Never mount SIBU DESIGN panels on uneven surfaces, as this may result in a loss of visual quality.
To achieve maximum adhesion, non-absorbent surfaces must always be cleaned with alcohol (ethanol, isopropyl alcohol).
Retain an expansion joint:
When bonding self-adhesive design panels (SA), an expansion gap of approx. 2 – 3 mm must always be maintained at the panel edges!
If the ambient temperature is high or the temperature fluctuates sharply, the expansion joint should be enlarged or a smaller panel format should be selected.
Back of a self-adhesive decorative panel
Glue edges exactly
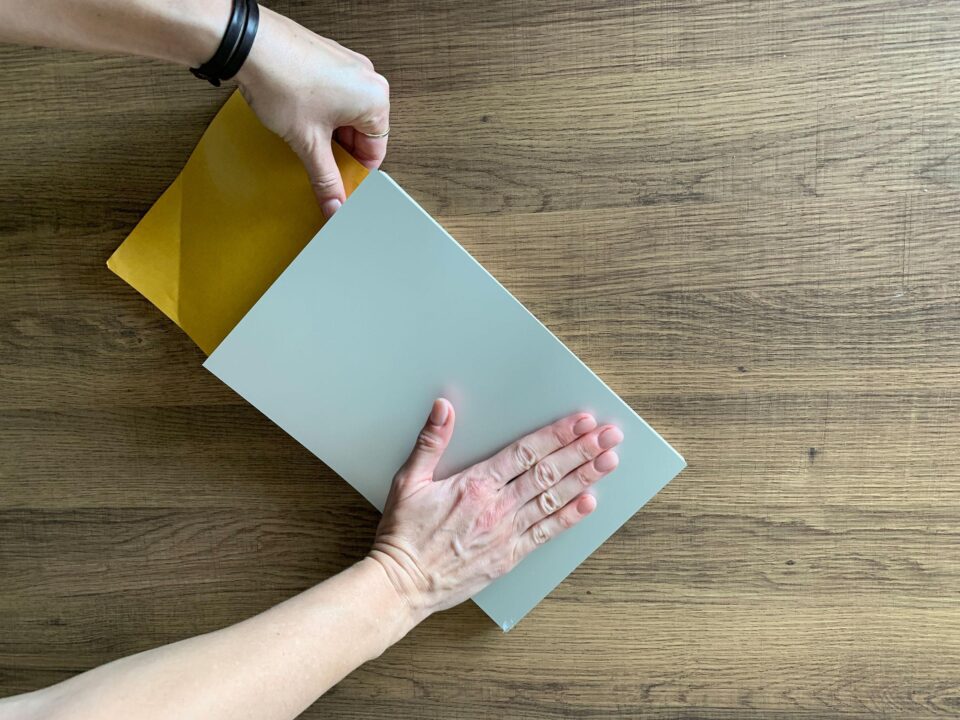
Apply self-adhesive decorative panel
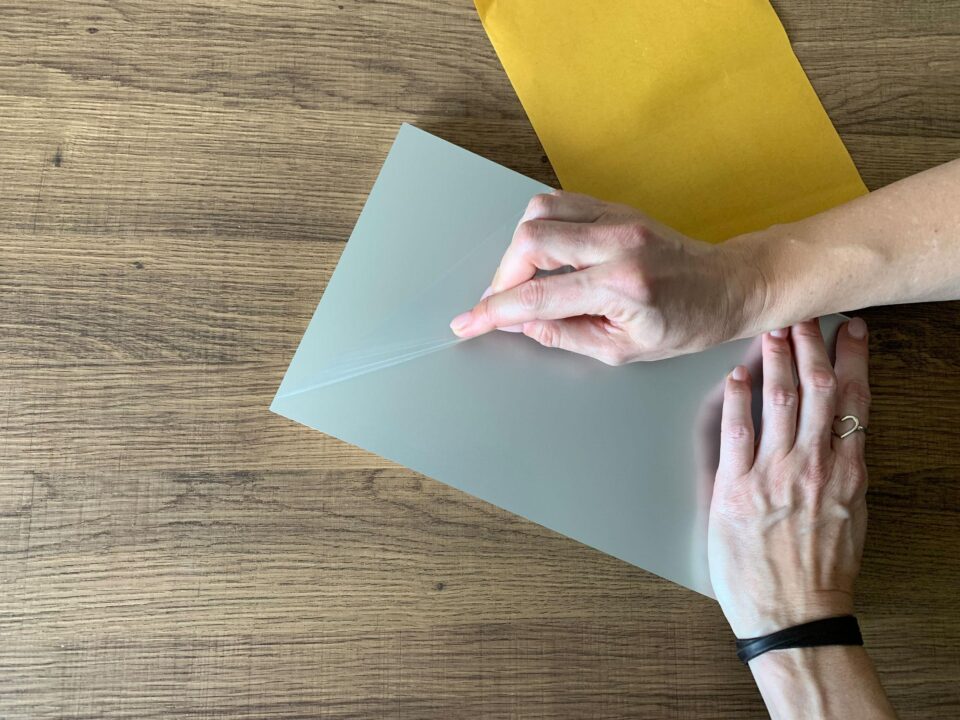
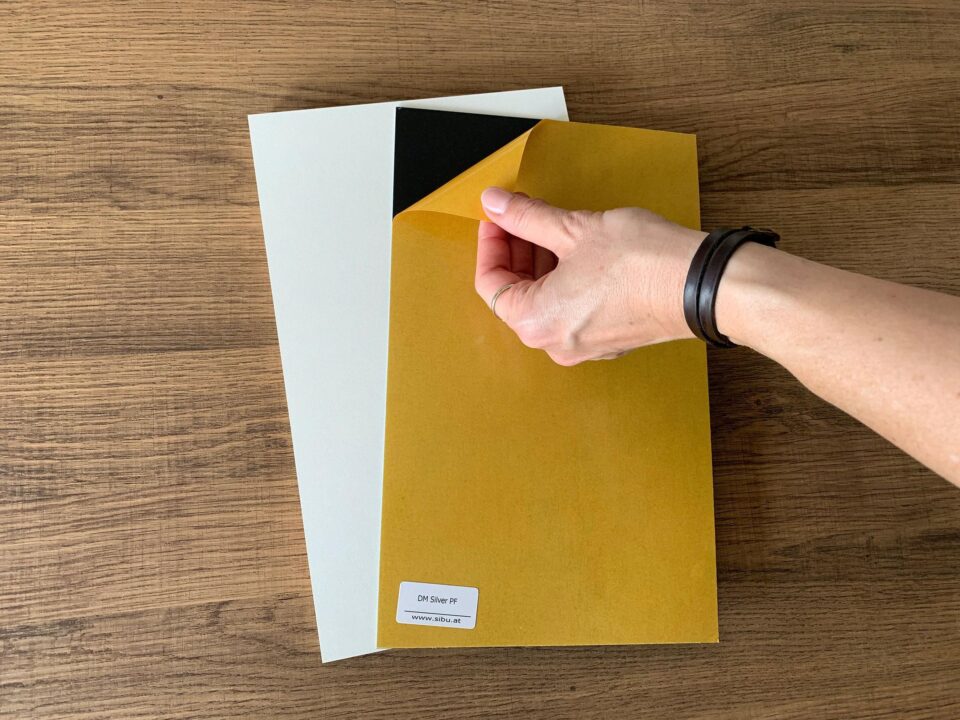
Remove protective foil
Assembly
- In the case of self-adhesive design panels (SA), remove the adhesive cover step by step, avoiding contact with the adhesive surface and press as firmly as possible onto the subsurface.
- Absolutely avoid the formation of bubbles (air pockets).
- For large areas, it is best to use a medium-hard rubber hand roller with a width of approx. 170 mm.
The final adhesion is reached after 24 hours at room temperature.
Good to know:
Avoid the formation of bubbles
The formation of bubbles and air pockets must be avoided at all costs. Use a medium-hard rubber hand roller!
Retain an expansion joint!
In general, an expansion joint of approx. 2-3 mm must be maintained at the board edges.
Storage
Self-adhesive design panels should be processed within 12 months.
Adhesive force
The final adhesion is reached after 24 hours at room temperature.
Other interesting articles:
Features of the rear of the decorative panel
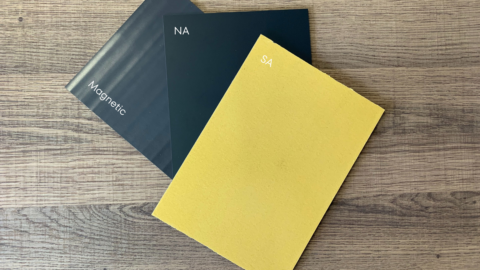
Non-adhesive (NA), self-adhesive (SA) or magnetic. We offer the right version for every area of application to optimally support your implementation.
Magnetic Equipment & Metal Foil
In this article you will learn everything about the magnetic equipment of the decorative panel, suitable substrates as well as installation.

Press decorative panels with white glue (PVA glue)
To create a composite panel from a non-adhesive decorative panel (NA) with material thicknesses of 1-4 mm, the design panels must be pressed. You will learn all the steps you need to follow in this article.
We are here for you:

If you have specific questions regarding our products, we look forward to hearing from you by phone or email.
We will forward them to our product specialists.
General Office
Get inspired…
…and register for our monthly mailing. Here we show you once a month a current project and inform you about our product newcomers.